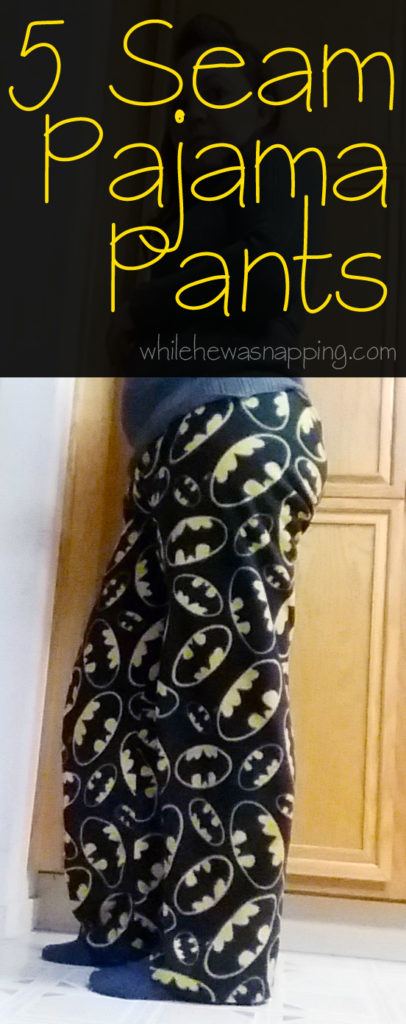
I really do enjoy sewing. With so many curious little boys hands around though it can be difficult to find the time to get much of it done. There’s so many knobs, levers and buttons to guard – not to mention things like the hot iron and electrical outlets. However, there is one sewing project I make time for at least once a year. Christmas Eve pajama pants. I started sewing these when I was 15 and I still love them. I started off, when I was 15, with a pattern and formal instructions but haven’t used them in probably 10 years. These pants are easy, fairly quick and so incredibly comfy. These 5 seam pajama pants are the perfect project for beginners and great quick project for the more advanced seamstress… or seamster… seamspeople? And you really don’t need a pattern!
5 SEAM PAJAMA PANTS – NO PATTERN REQUIRED
Materials:
– Sewing Machine, Needle and Bobbin
– Fabric – If you have a finished inseam of 25 inches or less, you can use a yard of fabric. Otherwise a yard and a half should be enough. Two yards will be plenty, even if you have a really long inseam or like a high waist.
– Coordinating Thread
– Chalk or Other Fabric Marking Pen
– Iron and Ironing Board
– Straight Pins
– Scissors
– Another Pair of Pants – Ones that fit well and are similarly cut to the pants you want to make.
– Elastic – I like to use 3/4 inch elastic
– Safety Pin
– Ribbon or Scrap Fabric – Optional
Directions:
* All seam allowances are 3/4 of an inch, unless otherwise stated.
– Wash and dry your fabric to prevent any shrinkage after you make your pants. Don’t skip this part or your fit may be altered and less amazing.
– Fold the fabric in half, wrong sides together. Fold your pair of pants in half, as if you’re going to fold them up. Straighten all the seams and pull the crotch area until it lays flat. You don’t want any weird bubbles or your pants will fit weird across your hips.

– Lay the pants on top of your fabric near one edge. The straight edge (the outside part of the leg) should be facing the middle of the fabric, the crotch pointing toward the edge.
– Use the chalk, or whatever marking tool you’re using, to draw a line 1-2 inches away from the edge of the pants. This isn’t rocket science and the cut of these pants don’t require precision, so you don’t need to spend too much time getting specific measurements. Trace around the crotch, inseam, bottom of the leg and the waistband. You can trace the outside of the leg if you want, but it isn’t necessary.

– Flip the pants on the straight edge so the crotch is now pointing toward the other edge of the fabric. If you did trace the outside edge of the pants you can line it back up. If you didn’t, just approximate the placement. You can move the pants over an inch or two if you’re worried. It will just make your pajama pants slightly baggier, although you probably won’t even notice. Trace the crotch, inseam, bottom of the leg and the waistband. Connect the lines on the bottom of the leg and the top of the waistband. You can set the extra pair of pants aside, you won’t need them again.


– Make sure your fabric is laying flat – it should still be folded in half, right sides out – and pin just inside the lines you drew all the way around the pajama pants. Cut on the lines. You should end up with two identical pieces with the pattern facing you.

– Separate the pieces and match up the front of the crotch to the back on each piece, right sides together this time. Match up the bottoms of the leg too. Pin and then sew the inseam. Repeat on the other piece of fabric. Iron your seams.

– Hem the bottom of each leg. You don’t have to do this now, but I find it easier to do it before you sew the legs together, especially on little pairs of pajama pants. Iron your hems.

– Turn one of the legs right side out and stick it inside the other leg. Match the two inseams together and pin. Then match up the front and back of the waistbands. Pin and sew the crotch seam. I always do a double (or quadruple!) stitch over the crotch, where the seams all meet. No one likes to pop a hole in the crotch of their pants!


– Pull the pant legs apart and iron your seams. Hey, they are starting to look like pants, right?!

– This is the last part: the waistband. First, you’ll need to make a casing for your elastic. At the waistband, fold down about 1/2 inch of fabric all the way around. Iron to hold the fold. Fold down again just enough to hold your elastic. I like to use 3/4 inch elastic, so I fold down about 7/8 inch to an inch. Pin the fold down.

– Start at the back of the pants and about 1/2 inch off the center seam and sew your casing around the waist band. When you get back to the back of the pants, stop about 1/2 inch before you reach the center seam. There should be a gap where you can thread the elastic into the casing.
– Cut your elastic to size. If you have a fabric measuring tape handy, you can measure the hips of your intended wearer. If not, just stretch the elastic around their waist. You’ll want approximately 2 inches less in elastic length than the circumference of your wearer’s hips.
– Fasten the safety pin to one end of the elastic. Thread the safety pin and the elastic into the casing you just sewed. Thread it all the way around the waistband. Don’t let the other end of the elastic disappear inside the casing while you’re working the other end through the pants. You can pin an additional safety pin to the other end or pin the end of the elastic to the pants to help you keep track of it.

– When you get the elastic through the casing, check to make sure you didn’t get it twisted inside the casing anywhere. Untwist it if you did. Then, pull out both ends and stitch them together. When you have the ends stitched together, stretch the waistband of the pants and that should pull your elastic inside the casing entirely. Help it out if it’s getting stuck and just tuck it in with your fingers.

– This is completely optional, but I highly recommend it, especially on pants for kids. Cut a length of ribbon about an inch and a half long. Fold it in half and stick the ends inside the gap in the casing where you just pushed the elastic through. This will create a little tag so that it’s easier to tell the front from the back of you new pajama pants. If you don’t want the tag, you can always just check the waistband hem around the center seam and if there is double stitching, it’s the back.
– Sew the casing gap shut.
– Iron your pants.

– Wear those babies all the time. Ok, not ALL the time, but they’re so comfy you’ll want to wear them all the time.
The more of these 5 seam pajama pants you make, the quicker you’ll get. I made four pairs in about four hours this past Christmas. I think it’s easier and quicker to make a single pair at a time, but I never leave myself that much time and always end up working on several pairs at once. I can zip out a single pair in about 45 minutes to an hour, so it doesn’t take much more time to do a bunch either.

I love these 5 seam pajama pants. My kids love them. Mr. Napping prefers sweats and since he’s so particular about his sleep apparel, it’s easier (and WAAY cheaper!) to buy a pair of sweats than 2 yards of fabric. The guy is 6’3″ and it takes a lot of fabric to cover his long legs. When he runs out of clothes, he still wears my last ultra failed attempt to make him some pants from a different pattern. It makes me laugh and makes me feel loved all at the same time. Only someone who really loves me would wear them!! And it reminds me why I stick to these 5 seam pajama pants!
My favorite thing about these pajama pants is how easy it is to adjust them to make them fit. I haven’t grown height-wise much since I started making these, but my hips are quite a bit larger now. Simply widening the hips and waistband to accommodate my baby-birthing hips have kept these pants as one of my go-to sewing projects and I make me a new pair every year too. I can still get a pair for me out of a single yard of fabric, so it’s often cheaper to make mine. And I love the comfort of my 5 seam pajama pants. They are perfect for grabbing all the snuggles I can get and playing cars on the floor.

Leave any questions in the comments and I will answer them as quickly as I can. Who are you going to make your first pair of 5 seam pajama pants for?
The post 5 Seam Pajama Pants – No Pattern Needed! appeared first on While He Was Napping.